Practical 3 (Part 1)
- Daniel
- Jul 13, 2021
- 2 min read

On the following day, we had our first practical in the FabLab. This was our first time coming here so we were briefed on certain things before we started on our practical session, such as work safety and how to use the respective tools provided properly. We started off by observing and inspecting the cardboard example of the joints that was given. The joints that we learned of were tabs, slots, flanges, bending, scoring, cable tie, fastener and gusset. Thus, we had to try and implement these joints into creative structures of our own. Brainstorming ideas on what to make from these cardboards and creating something that is joined together by these joints.

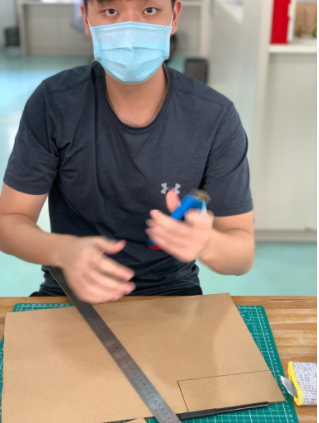


Following up, we did our measurements and sketches after brainstorming through what we wanted to do for the builds. As seen from the pictures, we were trying to be as precise and accurate with our measurements as we could to ensure we did not mess up our final build.


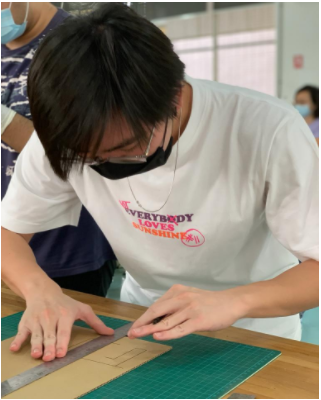
In the third part over here, we were cutting, creating holes, scoring, bending, gluing and placing our fasteners and cable ties and applying the various joints into our creations.


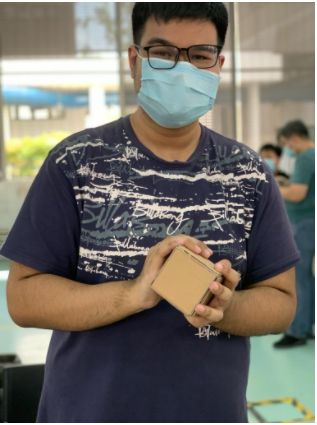


For our final products, we made 6 different buildings to show off all 8 joineries. The first one is “the erdinger” which made use of tabs. The second building is the “vaporiser” where we used fastener joinery. The third building is a “primary school chair”, of which uses cable ties, slots and tabs. The fourth building is a “cute baby octopus” which uses flanges as its tentacles. The fifth building is a ”distillation column” which uses slots, scoring and bending. The last building is “the support” which uses the gusset joinery. That was the end of our practical. To conclude, we enjoyed the whole process of creating the structures and using our creative and innovative minds to make use of the joineries to construct the structures. Thank you for reading~~
Done by
Daniel


Comments